
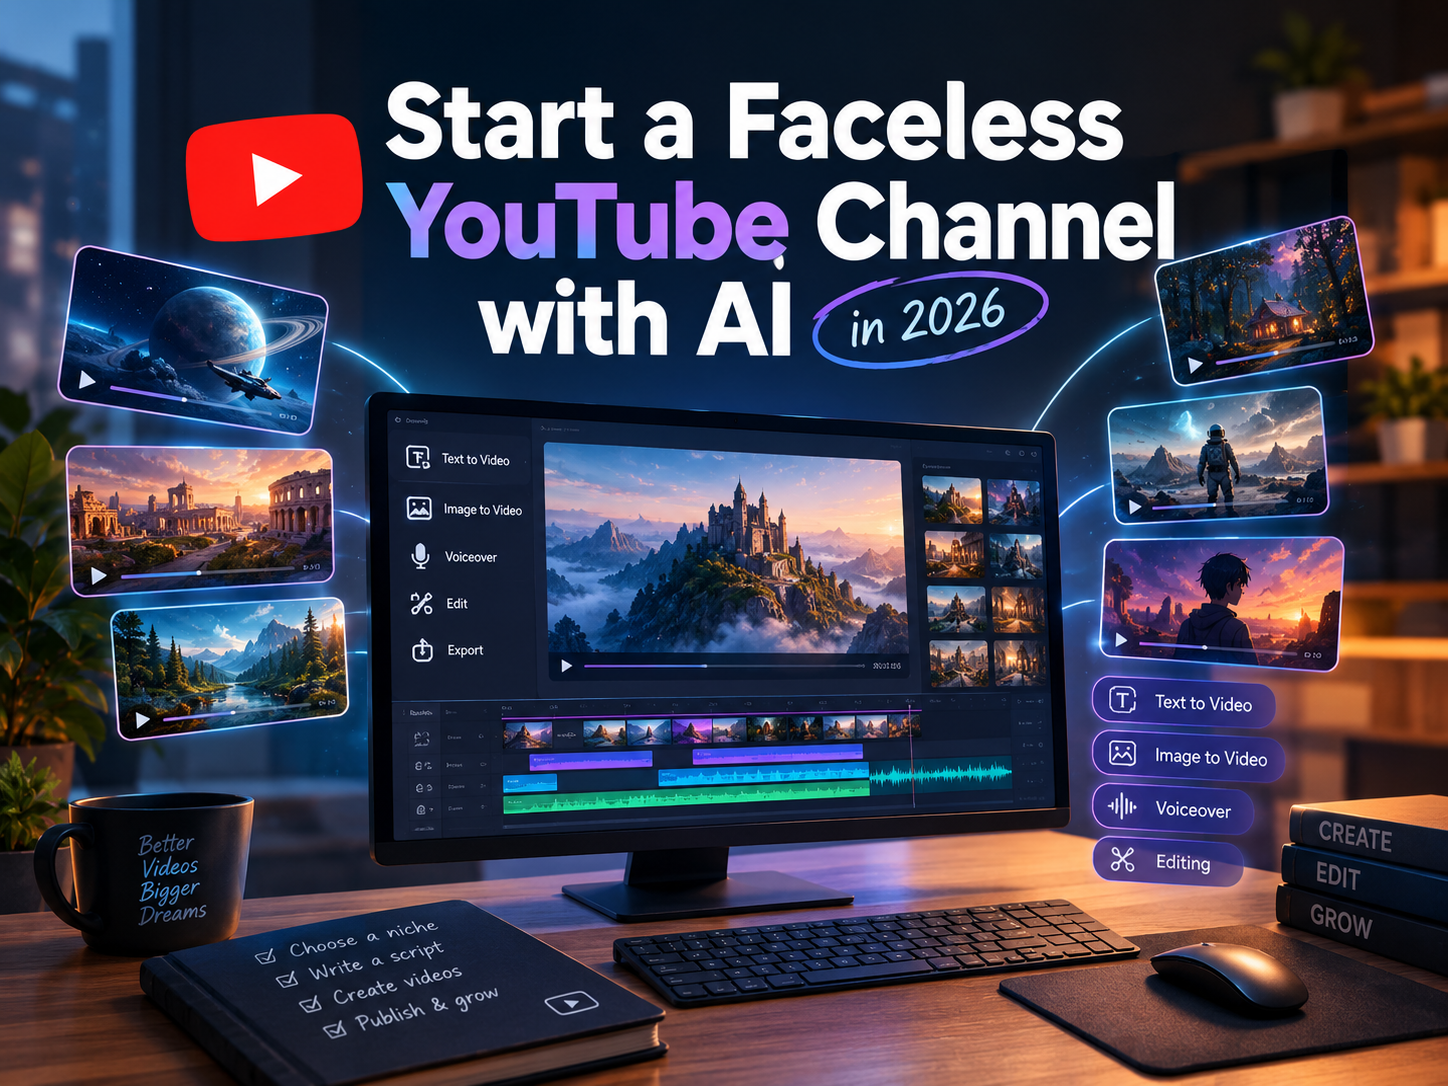
Starting a YouTube channel sounds easy until you actually try to make your first video. You need a good idea, a script, visuals, voiceover, editing, a thumbnail, and a title people might actually click. And if you're not comfortable appearing on camera, there's another challenge: how do you make videos that feel engaging without putting your face on the screen?
That's where AI comes in.
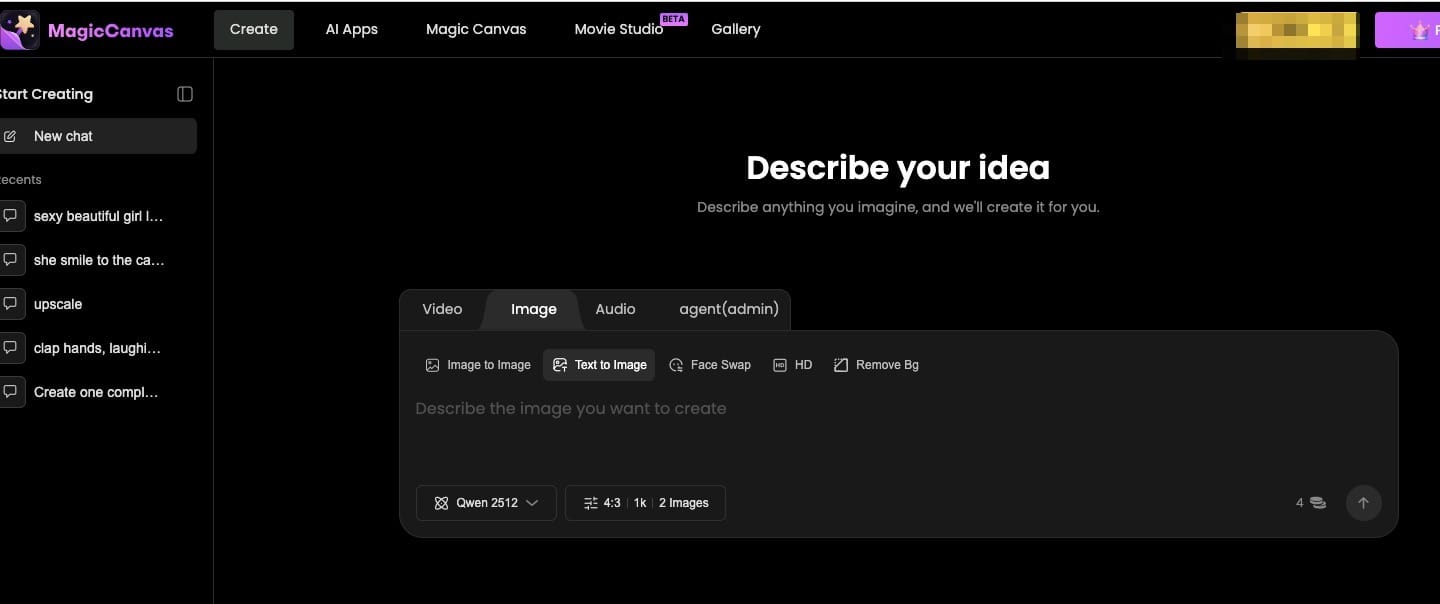
In 2026, you can use AI tools to brainstorm video ideas, write scripts, generate visuals, create voiceovers, and turn simple concepts into videos without expensive equipment or a home studio. Tools like MagicCanvas make the visual side of the process much easier by letting you generate videos from text prompts, animate existing images, and refine clips in one workspace.
But here's the thing: AI can help you make videos faster. It can't automatically make your channel interesting. The channels that stand out still need original ideas, useful information, good storytelling, and a recognizable style.
This guide walks you through how to start a faceless YouTube channel with AI in 2026, from choosing your niche to producing your first videos and building a workflow you can actually maintain.
What Is a Faceless YouTube Channel?
A faceless YouTube channel is a channel where you don't need to appear on camera. Instead, the content uses narration, animation, screen recordings, generated visuals, gameplay, or other footage to tell a story or explain an idea.
You don't need to be a professional filmmaker, either. Plenty of formats can work with relatively simple visuals and a well-written script.
Here are five types of faceless channels worth exploring:
- Educational and explainer videos: Break down science, history, technology, personal finance, or other topics people want to understand.
- Documentary-style storytelling: Tell stories about historical events, unusual places, inventions, or fascinating real-world discoveries.
- Mystery and storytelling channels: Create fictional horror stories, mythology videos, or narrated stories with atmospheric visuals.
- Top 10 and comparison videos: Compare products, explain trends, or explore interesting facts around a specific topic.
- Relaxing and ambient videos: Create visual experiences featuring nature, rain, dreamy landscapes, or calming animated scenes.
The best format isn't necessarily the one with the fanciest visuals. It's the one you can produce consistently while giving viewers a reason to come back.
Step 1: Choose a Niche You Can Keep Creating Content About
Before opening an AI video generator, decide what your channel is actually going to be about.
It's tempting to start with something broad like technology, travel, or entertainment. But broad topics can make it difficult to develop a recognizable identity, especially when you're starting from zero.
Try narrowing your idea down.
Instead of a general history channel, you could create short documentaries about forgotten inventions. Instead of a general science channel, you could explain everyday things people have always wondered about. Instead of covering every AI tool, you could make practical tutorials for people who have never used AI before.
Ask yourself three questions:
- Can I come up with at least 30 video ideas for this niche?
- Are people already watching similar content on YouTube?
- Can I bring something useful, entertaining, or different to the topic?
Look at competing channels to understand their video formats, audience questions, and presentation styles. Don't simply copy their scripts or recreate their videos. Use that research to identify gaps you can fill with your own perspective.
A focused niche also makes production easier. Once you know your audience, you can reuse a consistent script structure, visual style, and storytelling approach without making every video from scratch.
Step 2: Write a Script Before Generating Any Videos
A common beginner mistake is generating a bunch of impressive AI clips first and trying to invent a story around them afterward.
That usually creates a video that looks interesting but doesn't really go anywhere.
Start with the script instead.
You can use an AI writing assistant to brainstorm topics, organize research, create an outline, and draft narration. However, review the information carefully, especially when discussing factual subjects such as history, science, health, or finance.
A simple structure works well for many faceless videos:
- Hook: Give viewers a compelling reason to keep watching.
- Setup: Explain what the video is about and why it matters.
- Main content: Deliver the story, explanation, or useful information in a logical sequence.
- Payoff: Reveal the answer, explain the key takeaway, or resolve the story.
- Ending: Summarize the lesson or invite viewers to explore a related video.
For example, imagine you're making a video about why ancient Roman concrete lasted so long.
Rather than opening with a generic introduction to Roman history, you might begin with a question: Why are some ancient Roman structures still standing after thousands of years?
Now you have a clear direction for the story and the visuals.
Pro tip: Break your script into individual scenes before generating footage. Each scene should communicate one main idea. This makes it much easier to decide what visuals you need and helps prevent your finished video from feeling like a random collection of clips.
Step 3: Turn Your Script into AI-Generated Video Scenes
This is where AI video generation becomes especially useful.
Traditionally, creating visuals for a faceless channel might involve filming footage, searching stock libraries, hiring an animator, or spending hours assembling images. AI video tools give you another option: describe the scene you want and generate a clip to use in your video.
With MagicCanvas Text to Video, you can start with a written description instead of a camera or an existing image.
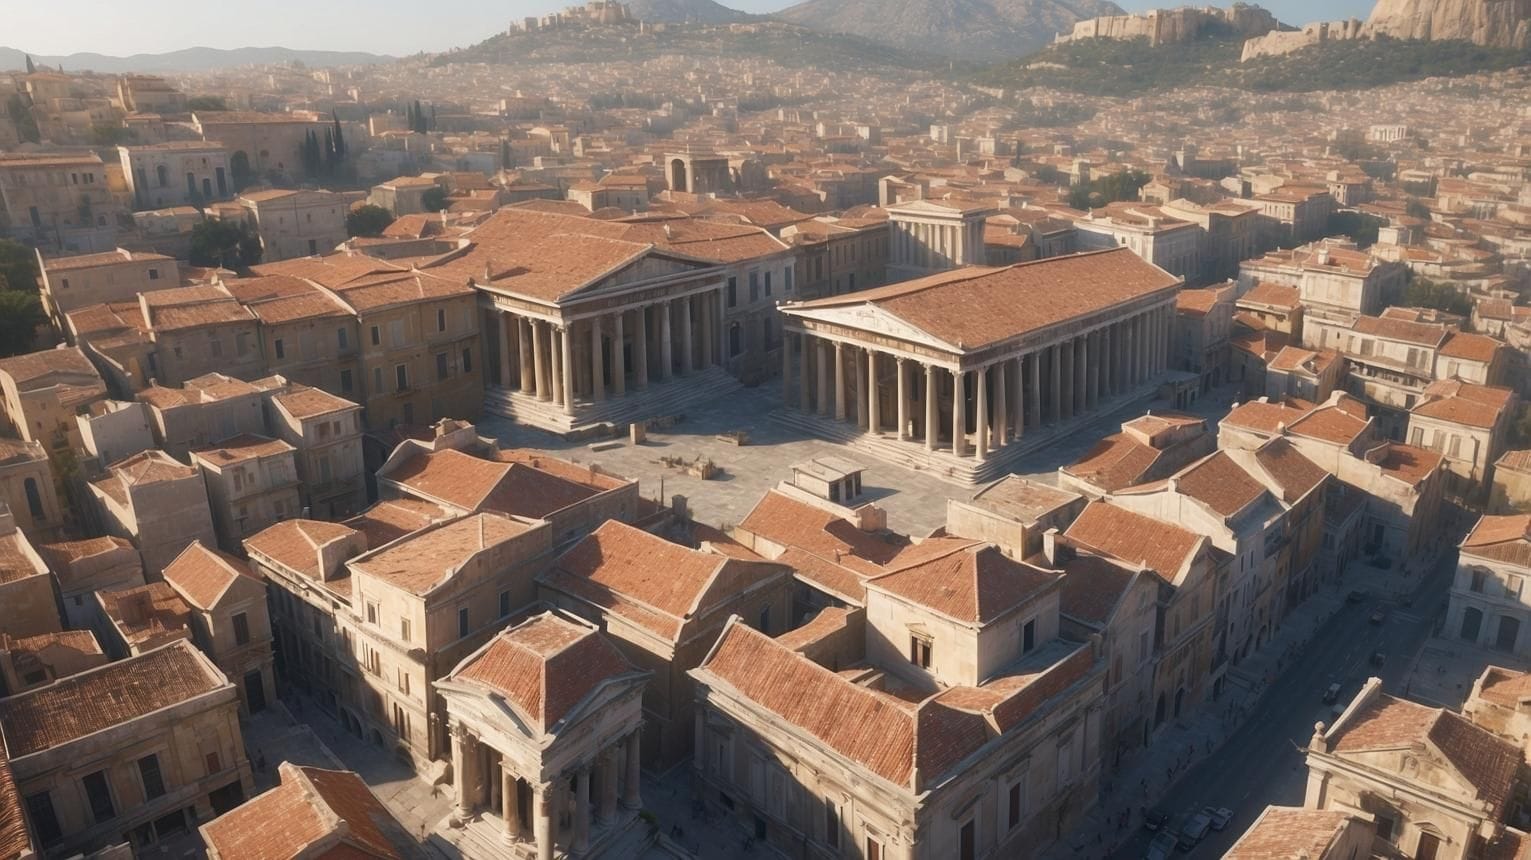
For example, suppose your script describes an ancient Roman city. You could try a prompt like this:
A cinematic aerial view of an ancient Roman city at sunrise, marble temples and busy stone streets, warm golden light, subtle atmospheric haze, slow forward camera movement, historically inspired architecture, realistic cinematic style, 16:9 composition.
The prompt describes the subject, setting, lighting, camera movement, and visual style. These details give the video model a clearer direction than a vague instruction such as "make a video about ancient Rome."
You can use the same approach for different types of channels:
- For a science explainer, generate visualizations of planets, cells, or scientific concepts.
- For a mystery channel, create foggy forests, abandoned buildings, or atmospheric establishing shots.
- For a storytelling channel, generate scenes that illustrate important moments in the narrative.
- For a business or technology channel, create abstract visualizations, futuristic environments, or conceptual scenes.
MagicCanvas brings multiple AI video models into one workspace, so you can explore the available options and compare results for different creative needs.
Keep in mind that generated footage may not always follow your prompt perfectly. Review each clip, adjust your instructions, and generate another version when necessary.
Also, you don't need a separate AI-generated clip for every sentence. A few well-chosen visuals, combined with strong narration and thoughtful editing, can be more effective than constantly changing scenes.
Step 4: Animate Images When You Need More Control Over the Visual Style
Text-to-video isn't the only way to create footage.
Sometimes you already have an image that captures exactly the look you want. Maybe it's a landscape, a character illustration, a historical scene, or a visual you created for your channel.
In that case, MagicCanvas Image to Video lets you start with an existing image and describe how you want it to move.
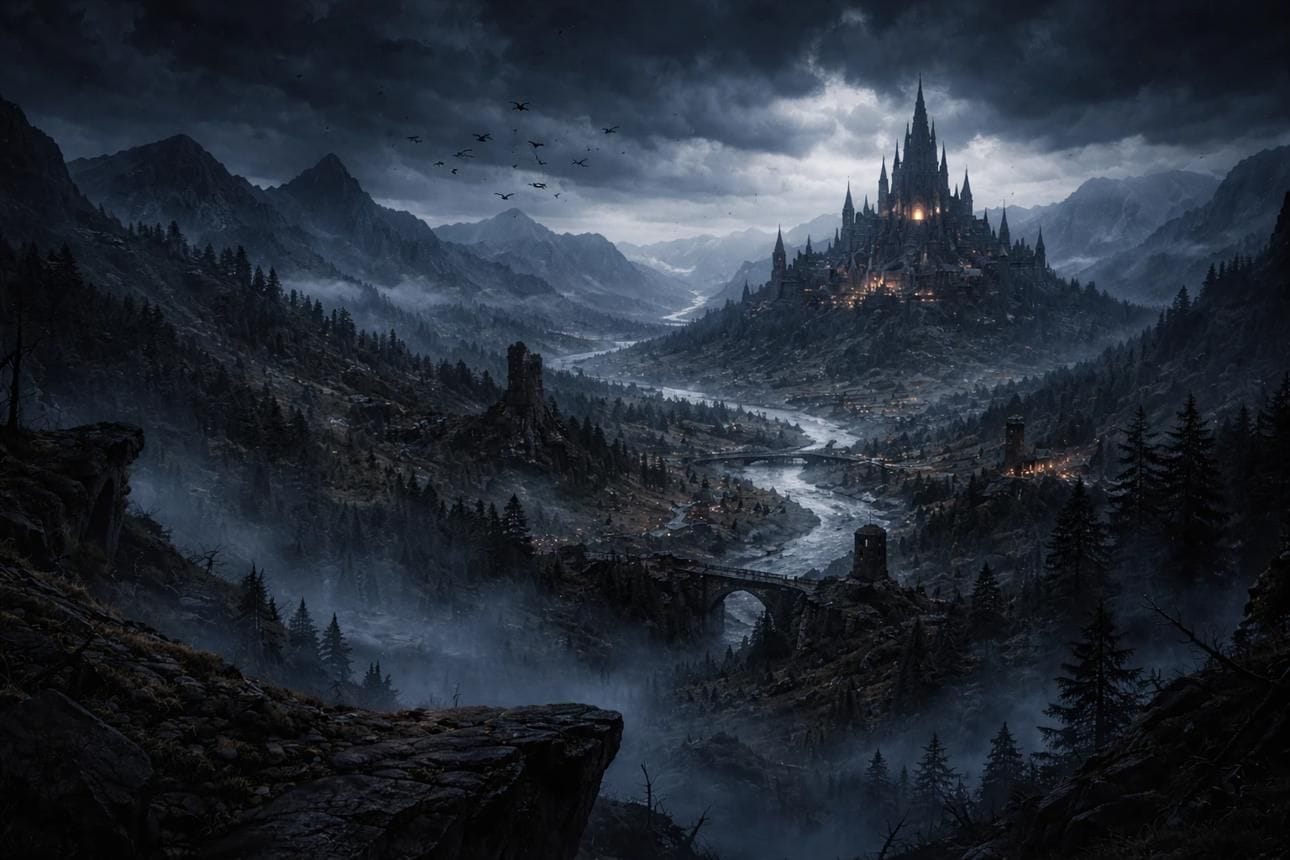
Imagine you've generated an illustration of a mysterious castle. Instead of leaving it as a static image, you could use a prompt like this:
The camera slowly moves toward the castle as mist drifts across the surrounding hills. Small lights glow in the distant windows. Keep the architecture consistent, with subtle atmospheric movement and a dark, cinematic mood.
The original image provides a visual starting point, while your prompt guides the movement.
This approach can be particularly useful for:
- Animating illustrations for narrated stories.
- Adding motion to landscape images.
- Creating cinematic establishing shots.
- Bringing original characters into short scenes.
- Turning still images into more engaging visual sequences.
If your channel features a recurring character or a consistent visual identity, reference-image tools such as MagicCanvas Omni Reference can also help guide generations using reference images. Results may still vary, so check important character details across scenes.
One practical tip: start with simple movements. A slow camera push, drifting clouds, or a character turning slightly is often easier to control than several complicated actions happening at once.
Step 5: Create a Consistent Look Across Your Videos
A recognizable visual style helps viewers identify your channel. It also makes production easier because you don't have to reinvent the look of every video.
Start by defining a few visual rules:
- Color palette: Choose a small group of colors that fit your niche.
- Lighting: Decide whether your videos should feel bright and educational, dark and mysterious, or cinematic and dramatic.
- Camera style: Use a consistent approach to movement, framing, and pacing.
- Characters and environments: When appropriate, reuse reference images to guide recurring visual elements.
- Typography and graphics: Keep titles, labels, and on-screen text consistent during editing.
You can use MagicCanvas to explore visual ideas, generate new images, animate selected images, and refine video clips. Its video editing and extension tools can also help when a shot needs adjustments or a scene needs additional footage.
If you're making a series, save your best prompts and reference assets. They give you a starting point for the next episode and reduce the amount of experimentation needed.
Consistency doesn't mean every video must look identical. It means the videos feel like they belong to the same channel.
Step 6: Add Voiceover, Sound, and Editing
Even beautiful visuals won't hold a viewer's attention if the narration is difficult to follow.
For a faceless channel, the voiceover often carries the entire story. You can record your own voice or use an AI text-to-speech tool, depending on your budget, style, and production needs.
When choosing a voice, think about your audience and format. An educational channel might benefit from clear, conversational narration. A mystery channel might use a slower, more atmospheric delivery.
MagicCanvas also provides audio tools and models in its workspace, giving you options to explore for voice and other audio tasks. Check the available model capabilities and settings for your specific needs.
Once you have the narration and visuals, assemble them into a coherent video.
Pay attention to these details:
- Pacing: Remove long pauses and unnecessary footage.
- Visual relevance: Make sure the footage supports what the narrator is saying.
- Sound design: Use music and sound effects where they add something, rather than filling every second with noise.
- Transitions: Keep scene changes smooth and purposeful.
- Captions: Add readable subtitles when they improve accessibility or comprehension.
You can use MagicCanvas to generate and refine visual assets, then combine them with your narration in a video editor that supports the timeline and audio controls you need.
Before publishing, watch the entire video from beginning to end. A scene that looks impressive on its own might feel awkward when placed next to another scene.
Step 7: Create a Thumbnail and Title That Make People Want to Click
Your video might be excellent, but viewers still need a reason to click on it.
That's why packaging matters.
A good title makes a clear promise without misleading the audience. A good thumbnail communicates the topic quickly and remains easy to understand at a small size.
For example, a generic title such as "Roman History Explained" could become more specific: "Why Roman Concrete Has Lasted for Thousands of Years."
For thumbnails, you can explore concepts using AI image-generation tools, including MagicCanvas Text to Image. Try a strong central subject, clear contrast, and a composition that communicates one idea.
Avoid cramming the thumbnail with too many objects or long sentences. If you use text, keep it short and check that it remains readable on mobile screens.
AI-generated images can sometimes produce distorted lettering or inconsistent details. Review the result and add accurate text separately when needed.
Finally, make sure your title and thumbnail accurately represent the video. Clicks are useful, but misleading packaging can disappoint viewers and hurt long-term audience trust.
Step 8: Build a Repeatable Workflow Instead of Making Every Video from Scratch
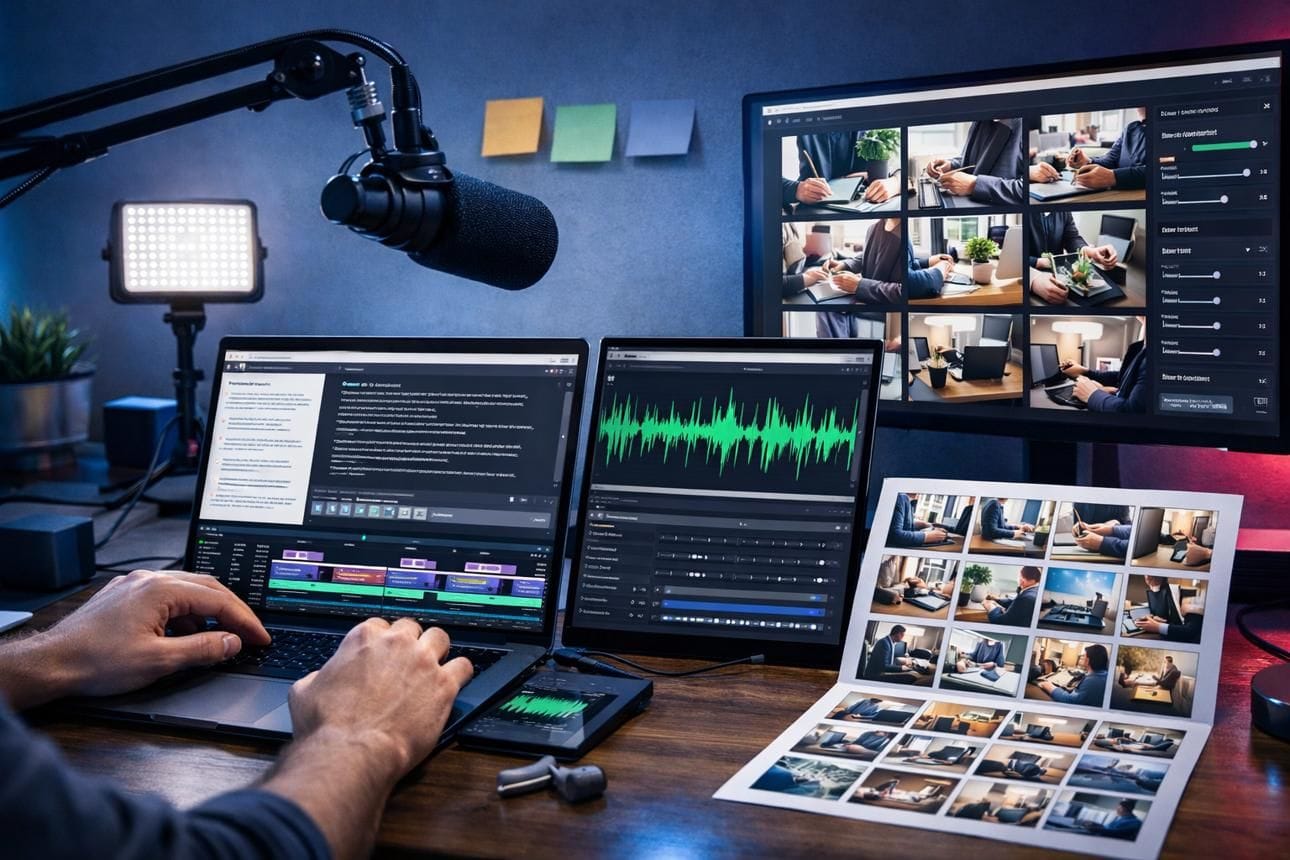
Your first video will probably take longer than you expect. That's normal.
The goal isn't to create an entire channel in one afternoon. It's to develop a process you can repeat without spending every evening starting over.
Here's a simple workflow to follow:
| Stage | What to do |
|---|---|
| Research | Find audience questions and choose a focused topic |
| Scripting | Write, fact-check, and structure the narration |
| Planning | Divide the script into scenes and prepare visual prompts |
| Production | Generate footage with Text to Video or animate images with Image to Video |
| Audio | Record or generate narration and select suitable sound |
| Editing | Assemble scenes, adjust pacing, and add captions |
| Packaging | Create the thumbnail, title, and description |
| Review | Check accuracy, quality, rights, and platform requirements |
| Publishing | Upload the video and review audience response |
MagicCanvas can support the visual production stages by bringing image generation, video generation, editing, and other creative tools together in one workspace. Its workflow features can also help you connect supported tools into reusable processes.
You can start with a small batch of videos, learn which steps take the most time, and improve your workflow before increasing production.
Don't automate everything just because you can. Keep human review in the process, particularly for research accuracy, visual mistakes, and the final viewing experience.
A Few Things to Keep in Mind Before You Start
AI makes video production more accessible, but a few common mistakes can hold a new channel back.
Don't publish generic videos just to increase volume. If your videos repeat the same script structure and recycled visuals without adding anything useful, publishing more won't necessarily help. Focus on original commentary, storytelling, research, or a genuinely useful explanation.
Don't ignore copyright and usage rights. Use footage, images, music, and voices you have permission to use. Check the terms of any external assets and AI tools you rely on.
Don't assume AI-generated content is automatically eligible for monetization. YouTube's monetization policies emphasize original and authentic content, and mass-produced or repetitive content may be ineligible. Review the official YouTube channel monetization policies before building your strategy around AI-assisted production.
Understand disclosure requirements. YouTube requires disclosure for certain realistic altered or synthetic content. Check its current rules and disclose content when required.
Don't give up after two videos. Your first few uploads are opportunities to learn. Look at click-through rate, audience retention, comments, and the points where viewers leave. Use those signals to improve your next video rather than guessing what went wrong.
Most importantly, don't let the tools become the entire project. Your niche, ideas, research, and ability to tell a good story are what give people a reason to watch.
Final Thoughts
Starting a faceless YouTube channel with AI in 2026 is more accessible than ever. You can research a topic, write a script, generate visuals, create narration, and assemble a polished video without appearing on camera or investing in a full production setup.
The easiest way to begin is to choose one focused niche, plan three video ideas, and produce one complete video before worrying about scaling up.
MagicCanvas can help with the visual side of that process, from generating scenes with Text to Video to animating images with Image to Video and refining footage with its other creative tools. You can explore different models and approaches in one workspace instead of treating every visual task as a completely separate project.
Start small, review your results, and improve one thing with every upload.
You don't need a perfect channel on day one. You need a useful idea, a workable process, and a first video worth publishing.