
Ever taken a photo that looked so good you wished it could move? Maybe it's a travel shot with a gorgeous sunset, a portrait that deserves more than a spot in your camera roll, or a product photo that could use a little extra life.
Here's the good news: you don't need a camera crew, fancy editing software, or a talent for making things move in video editors. With AI image-to-video tools, you can turn a single still image into a short video with just a few clicks.
And yes, you can do it without filming yourself.
Whether you're creating TikTok content, Instagram Reels, or YouTube Shorts, this guide will walk you through how to turn one photo into a video, choose the right settings, write better prompts, and avoid some common mistakes. We'll also show you how to use MagicCanvas to experiment with different AI video models and bring your ideas to life.
Let's get that photo out of your camera roll.
What Is AI Image to Video?
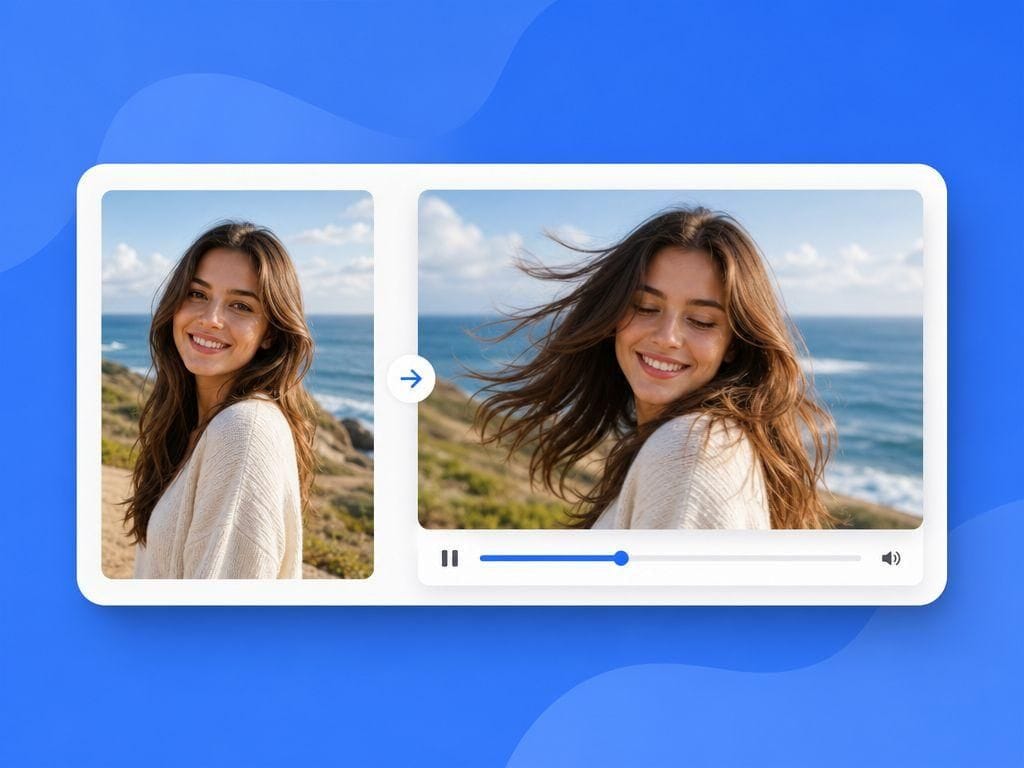
AI image-to-video technology takes a still image and generates a moving video based on its visual content and your instructions.
Instead of manually animating every movement, you upload an image and describe what you want to happen. The AI then generates a video that attempts to bring the scene to life.
For example, you could turn:
- A portrait into a clip with natural-looking head movements and a gentle smile.
- A landscape photo into a scene with moving clouds, flowing water, or swaying trees.
- A fashion photo into a cinematic clip with subtle movement and camera motion.
- A product image into a promotional video with atmospheric lighting and motion.
- An illustrated character into an animated scene.
The exact result depends on your source image, prompt, and the model you use. Some models may handle certain movements or visual styles better than others, so experimentation is part of the process.
The biggest advantage? You can create video content without recording an entirely new scene.
For short-form creators, that opens up plenty of possibilities. One good photograph can become the starting point for several different video concepts.
Why Turn Photos into Videos for TikTok, Reels, and Shorts?
Short-form video platforms make video a useful format for reaching audiences, sharing stories, and showcasing products. But constantly filming new content can be exhausting.
AI image-to-video tools offer another way to create.
1. Create Content Without Filming
Not everyone wants to stand in front of a camera every day. With image-to-video tools, you can start with existing photographs instead of recording new footage.
This is particularly useful for creators who prefer faceless content, visual storytelling, or AI-assisted production.
2. Give Existing Photos a Second Life
You might already have hundreds of photos sitting on your phone. Travel pictures, portraits, product shots, and old creative projects can all provide inspiration for new videos.
Rather than letting those images collect digital dust, you can experiment with turning them into moving scenes.
3. Test Different Creative Ideas
The same photograph can inspire multiple video concepts.
A portrait could become a dreamy cinematic shot, a playful social media clip, or a dramatic close-up. You don't necessarily need a new source image for every experiment.
4. Make Product Content More Engaging
For online stores and small businesses, product photography is often the starting point for marketing content.
AI-generated motion can help turn a static image into a short promotional concept. You could experiment with camera movement, lighting changes, or a more atmospheric presentation.
Just remember to check the generated video carefully. AI may alter product details, logos, text, or proportions, so not every result will be suitable for a product listing or paid advertisement.
How to Turn a Single Photo into a Video Using MagicCanvas
MagicCanvas includes an Image to Video feature that lets you start with a still image and generate a video using available AI models.
Here's a practical workflow you can follow.
Step 1: Choose a Photo That Works Well
Your source image matters more than you might think.
AI can generate motion from a photograph, but it still needs a clear visual starting point. A blurry image with confusing details can make it harder to get the result you want.
For the best chance of a good result, look for an image with:
- A clear subject: Make sure the main person, object, or character is easy to identify.
- Good lighting: Well-lit images generally provide clearer visual details.
- Enough space around the subject: This can help when you want movement or a wider composition.
- A consistent visual style: Photorealistic portraits, illustrations, and product photography can all work, but decide what kind of result you're aiming for before generating.
Think about your final video, too.
If you're making a TikTok or Reel featuring a person, a portrait with the subject clearly visible may be a good starting point. If you're creating a travel video, choose a landscape with interesting elements such as water, clouds, or trees.
You don't need the most spectacular photo in the world. You need one that gives the AI something interesting to work with.
Step 2: Open Image to Video in MagicCanvas
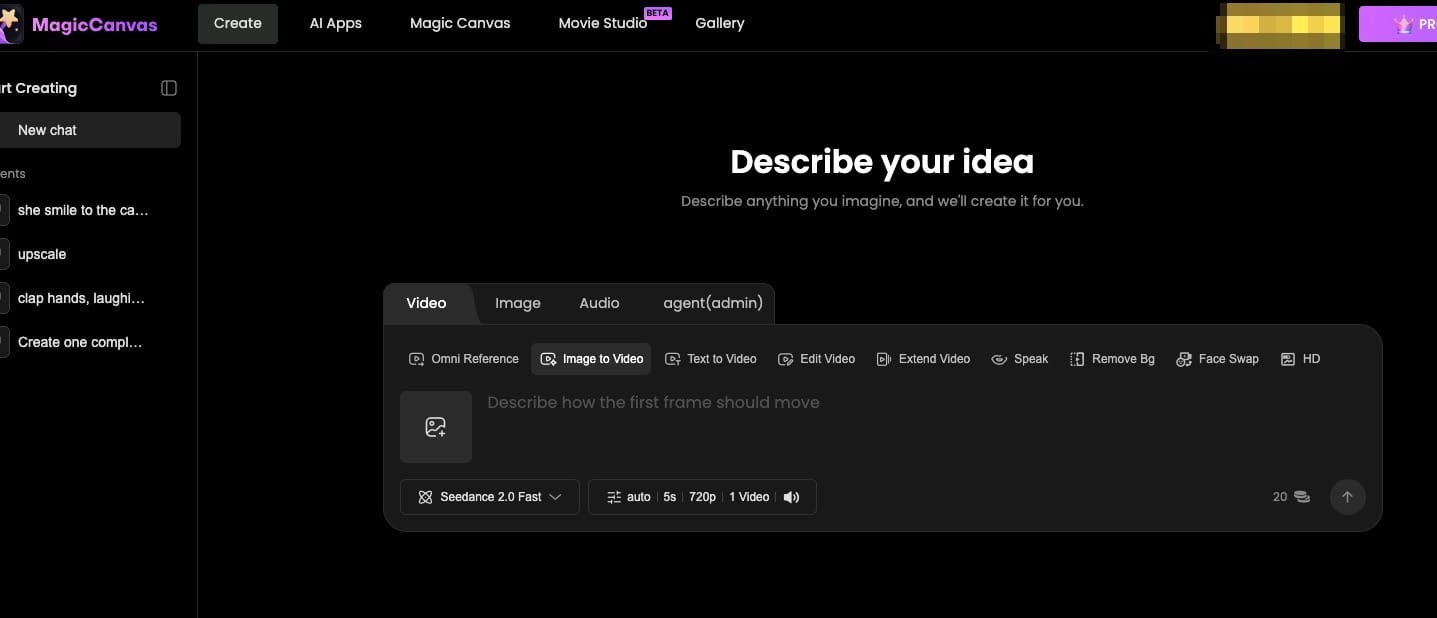
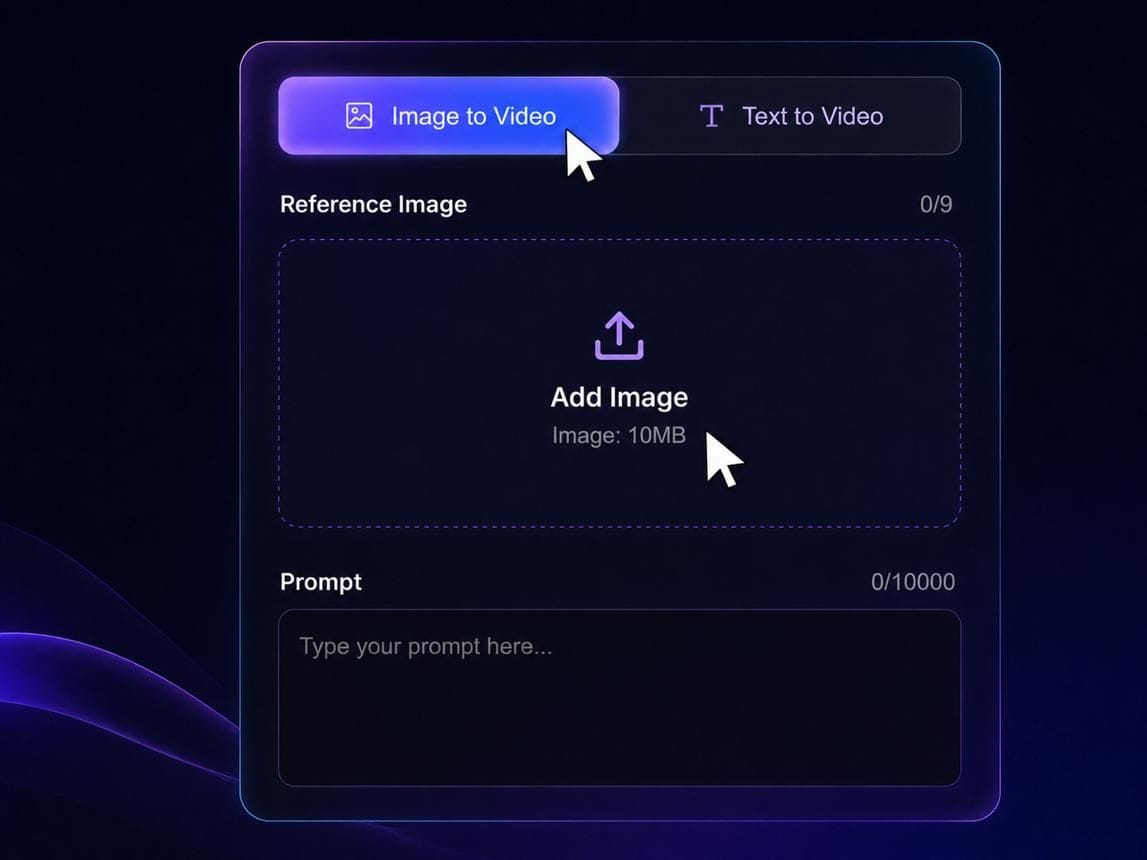
Head to MagicCanvas and open the Image to Video feature.
Upload the photo you want to animate. Once your image is ready, you'll be able to describe the movement or scene you want to create and adjust the available generation settings.
This is where your creative direction comes in.
Instead of simply asking the AI to "make this photo move," think about what should move, how it should move, and what mood the video should convey.
For example, you might want the person in a portrait to turn slightly toward the camera while their hair moves gently in the breeze. Or perhaps you want a landscape to feel cinematic, with clouds drifting across the sky and a slow camera push-in.
Specific instructions give you a clearer starting point for experimentation.
Step 3: Write a Prompt That Describes the Motion
A good image-to-video prompt focuses on movement, camera behavior, and atmosphere rather than repeating every detail already visible in the image.
Here are three prompts you can try.
Example 1: A Natural Portrait
"She gently turns her head toward the camera, gives a subtle natural smile, and blinks softly. A light breeze moves a few strands of her hair. Slow cinematic camera push-in, realistic motion, soft natural lighting, stable facial features."
Example 2: A Cinematic Landscape
"Clouds slowly drift across the sky while the grass sways gently in the breeze. The camera gradually moves forward, revealing more depth in the landscape. Peaceful cinematic atmosphere, smooth motion, natural lighting."
Example 3: A Fashion Photo
"The model makes a subtle shift in posture and gently turns toward the camera. Her clothing moves naturally with the breeze. A slow editorial camera movement, elegant lighting, refined fashion-film aesthetic, realistic motion."
Notice that none of these prompts asks the AI to change everything at once.
That's intentional. If you want a realistic result, start with a few clear movements rather than asking for a head turn, a full-body dance, a dramatic camera orbit, and a scene transformation in the same five seconds.
You can always make the next version more ambitious.
Step 4: Choose an AI Video Model
MagicCanvas offers multiple AI video models, giving you options to explore different creative approaches.
Its featured models include:
- Seedance 2.0 Fast
- Wan 3.0
- Wan 2.7 Spicy
You can also explore the broader model selection through All models, with model families and options including Seedance, Wan, HappyHorse, Google Veo, MiniMax, Wan Spicy, and Kling.
Model availability and the exact options presented may vary. Rather than assuming one model is always the best, test a few available options with the same photo and prompt.
A simple comparison workflow works well:
- Upload the same source image.
- Use the same prompt for each model.
- Keep the aspect ratio and other settings consistent.
- Compare the generated motion, visual consistency, and overall result.
- Choose the clip that best fits your intended platform and style.
This makes it easier to identify which option works best for your particular image.
MagicCanvas also offers MagicCanvas Wild for a wider range of creative content, including sensitive themes, with a slight trade-off in output precision. Consider whether that additional creative freedom is appropriate for your project, and review the results before publishing.
The key is to treat model selection as part of the creative process, not as a one-time decision you have to get right immediately.
Step 5: Choose the Right Aspect Ratio
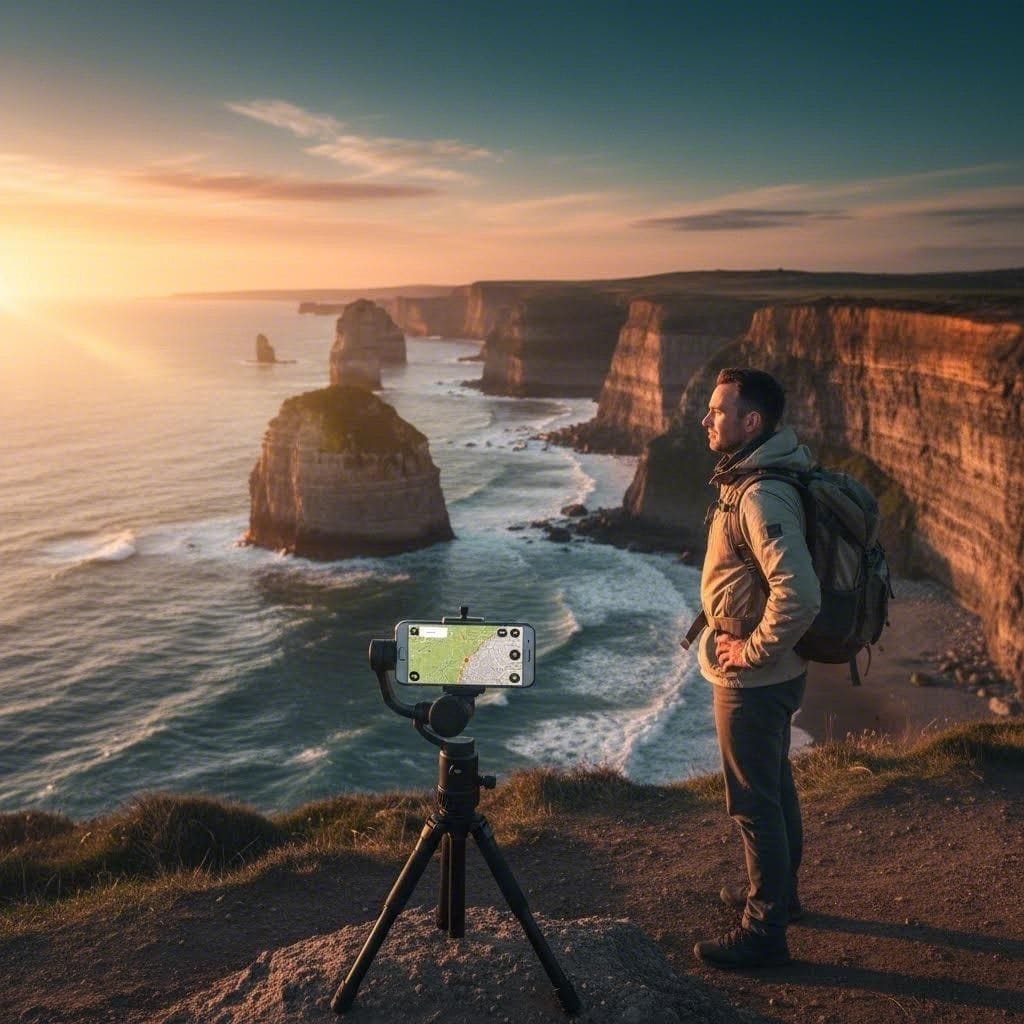
This setting is especially important when creating content for TikTok, Instagram Reels, and YouTube Shorts.
MagicCanvas offers several aspect ratio options, including Auto, 21:9, 16:9, 4:3, 1:1, 3:4, and 9:16.
Here's how to think about them:
| Aspect ratio | Best use |
|---|---|
| 9:16 | Vertical short-form videos for TikTok, Reels, and Shorts |
| 16:9 | Traditional horizontal video and widescreen content |
| 1:1 | Square social media content |
| 4:3 | Classic photo and video compositions |
| 3:4 | Portrait-oriented images and vertical compositions |
| 21:9 | Extra-wide cinematic visuals |
| Auto | Let the available workflow determine the output framing |
For TikTok, Instagram Reels, and YouTube Shorts, start with 9:16.
This vertical format is a practical choice for full-screen mobile viewing. It helps you design the video around the way people typically consume short-form content.
However, choosing 9:16 doesn't automatically guarantee a perfect composition. If your original photo is horizontal, the generated result may need to adapt to a taller frame.
Check that the main subject remains visible and that important details aren't awkwardly cropped or pushed too close to the edges.
If you're creating content for several platforms, you may want to generate separate versions with different aspect ratios rather than trying to make one clip fit every format.
Step 6: Adjust Duration, Resolution, Audio, and Video Count
Once you've selected your model and aspect ratio, take a moment to review the other settings.
MagicCanvas provides controls for video duration, resolution, audio generation, and the number of videos to generate.
Duration
The available duration control runs from approximately 4 to 15 seconds.
For your first attempt, a short clip is a sensible place to start. A simple movement often works better than a complicated sequence squeezed into a few seconds.
Use longer durations when your concept needs more time to develop, but remember that additional duration doesn't automatically mean better results.
Resolution
MagicCanvas offers 480p and 720p options in the interface shown.
If you're testing prompts or comparing models, 480p can be a practical starting point. Once you find a result you like, consider generating a 720p version for a clearer final clip.
Always check the actual output before publishing, particularly if your video contains fine details, text, or facial features.
Generate Audio
The Generate Audio toggle lets you control whether audio generation is enabled.
Whether you need it depends on your concept. For a visual landscape clip, you might focus on the imagery and add suitable music during editing. For a scene that benefits from generated sound, try enabling audio and review what the model produces.
If you plan to add your own music, voice-over, or sound effects later, consider how the generated audio will fit into that workflow.
Also, don't assume that generated audio will automatically match your preferred soundtrack or meet a platform's commercial-use requirements.
Number of Videos
You can choose to generate 1, 2, or 4 videos.
Generating one clip is useful when you're testing an idea or working with a limited generation budget. Generating multiple videos can help you compare variations without relying on a single result.
If your first attempt isn't quite right, try a different prompt or model before changing everything at once.
A little controlled experimentation can save you from repeatedly generating clips without knowing what actually improved them.
Step 7: Generate, Review, and Refine
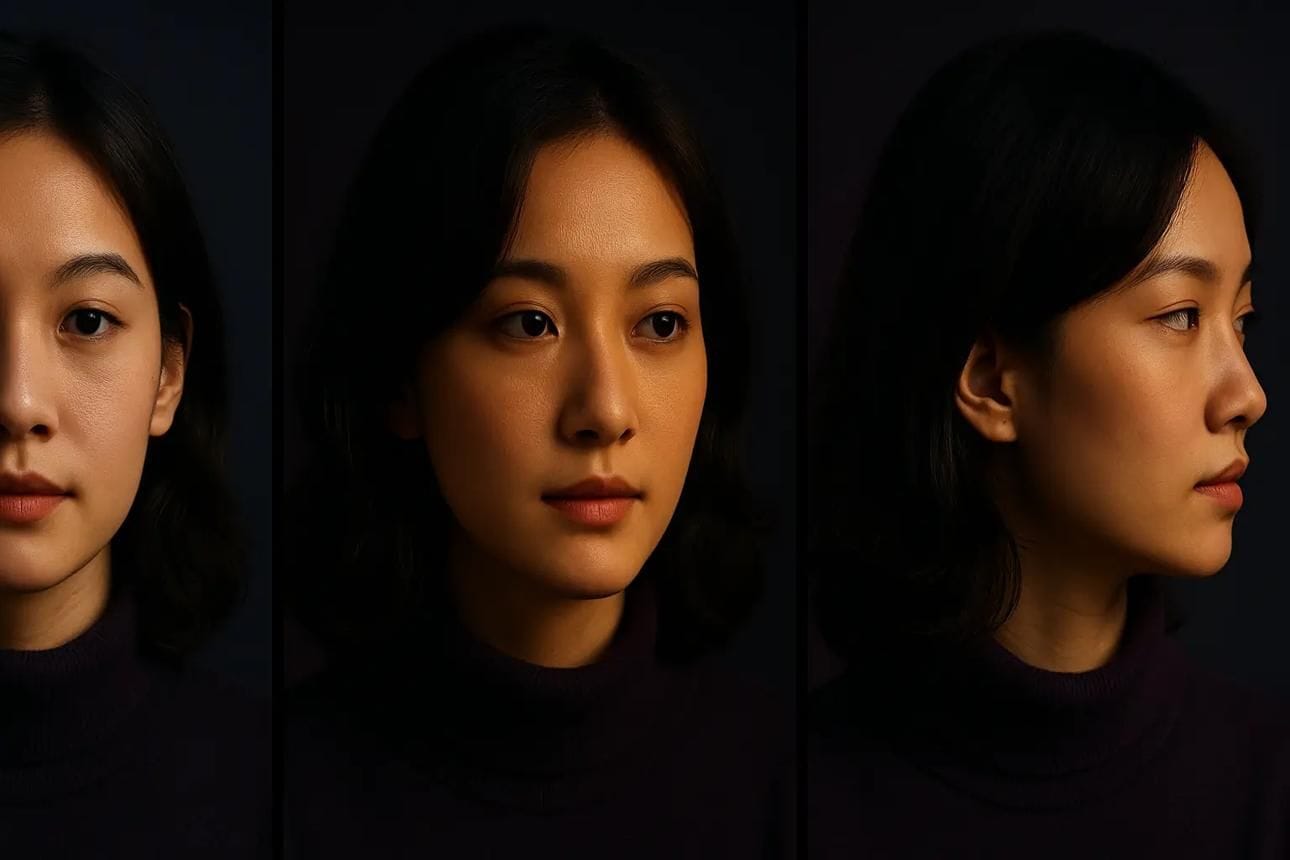
Now it's time to generate your video.
When the result is ready, watch the entire clip rather than judging it from the opening frame.
Pay attention to:
- Whether the main subject remains recognizable.
- Whether the movement looks natural.
- Whether the camera motion supports the scene.
- Whether objects or background details change unexpectedly.
- Whether the composition works in your chosen aspect ratio.
- Whether the clip feels complete at its final frame.
If something looks wrong, don't immediately discard the entire idea.
Try making your prompt more specific. Replace a complex movement with a simpler one, reduce unnecessary camera instructions, or test another model.
For example, if a portrait becomes distorted when the subject moves too much, try asking for a subtle head turn and gentle blinking instead of a full-body movement.
Once you're happy with the result, use your preferred video editor to add captions, music, transitions, or other finishing touches before publishing.
5 Tips for Making Better AI Photo-to-Video Content
Generating a video is one thing. Creating something people actually want to watch is another.
Here are five ways to improve your results.
1. Keep the First Movement Simple
Small movements can be surprisingly effective. A gentle head turn, moving clouds, or a slow camera push-in may be all you need to make a still image feel alive.
Start simple, then experiment with more complex ideas.
2. Write Prompts About What Should Change
The original image already contains the subject, clothing, and background. Focus your prompt on the new action you want to see.
For example, "the camera slowly moves closer while the trees sway in the wind" provides a clearer direction than simply saying "make this image cinematic."
3. Match the Format to the Platform
If you're creating a vertical short, compose the scene for a vertical screen. Leave enough room around the subject and avoid placing important details too close to the edges.
You can also keep captions and platform interface elements in mind when editing the final video.
4. Test Different Models Before Rewriting Everything
A prompt that produces a good result in one model may behave differently in another.
If your first generation isn't working, try another available model using the same prompt. This helps you determine whether the issue comes from the prompt, the source image, or the model's handling of the scene.
5. Give the Video a Reason to Exist
Motion alone doesn't guarantee an interesting video.
Think about the hook, mood, or story. Is the clip meant to surprise viewers, show off a product, tell a short story, or create a relaxing visual?
A clear creative purpose makes it easier to choose the right image, movement, and final edit.
Common Mistakes to Avoid
Even with a good image and a capable AI model, a few mistakes can make the process frustrating.
Using a low-quality source image. Blurry or poorly lit photos can produce less convincing results. Start with the clearest image you have.
Overloading the prompt. Too many simultaneous actions can make it harder to achieve a coherent scene. Prioritize the most important movement.
Choosing the wrong aspect ratio. A horizontal composition may not translate cleanly into a vertical video. Check your framing before generating.
Expecting every generation to be perfect. AI video generation is experimental. Faces, hands, text, and fine details can still change unexpectedly. Review every clip.
Forgetting the final edit. Captions, pacing, music, and a clear opening can make a big difference to how a short video feels. Treat AI generation as one part of the workflow, not necessarily the entire production process.
Final Thoughts: One Photo Can Be the Start of Something Bigger
You don't need to film a new scene every time you want to publish a short video.
With AI image-to-video tools, a single portrait, landscape, or product photo can become the starting point for a new creative idea. The process is straightforward: choose your image, describe the movement, select a model, adjust your settings, and refine the result.
MagicCanvas makes it possible to explore this workflow with its Image to Video feature, a range of available AI models, and adjustable controls for aspect ratio, duration, resolution, audio, and video count.
If you're curious about what your photos could become, start with one image and a simple prompt. Try a few variations, compare the results, and see which direction works best for your content.
Your camera roll might have more video ideas in it than you think.
Ready to give it a try? Explore MagicCanvas and turn your next photo into a video.